Introduction
Paint protection film (PPF) is not just a cosmetic enhancement but a solid investment in the authenticity and aesthetic appeal of your car’s paintwork. This highly developed material defends the paint from the debris of rock chips, UV rays, and contaminants. Therefore, no matter how durable PPF is, it will eventually wear out and must be replaced or removed when it shows signs of wear or stops fulfilling its protective function. This blog is all about the expert methods and tips that will help you to remove PPF from any car surface the right way so that you can keep your vehicle as good as new.
Knowing the right way of doing things is important to avoid damaging your car’s paint. Whether the paintwork has become faded, started peeling, or you simply want to replace it, this guide will give you professional advice that will ensure that the removal process is smooth and that the surface underneath is left undamaged.
What You Need to Know Before Removing PPF
The Purpose of PPF on Your Car
PPF, also known as clear bra, is developed to serve as a barrier which prevents the car’s paint from being damaged by road debris, corrosion, stains, and weather conditions. It is actually a protective layer which is strong enough to bear the daily knocks. When car owners know that PPF has properties that protect and last long, they can then understand why it’s important to remove and replace the film correctly to keep on enjoying the film’s protective benefits.
When to Remove PPF
Usually PPF should be removed and replaced every 5-10 years, but the actual time period can vary with exposure to harsh conditions and the quality of the film. Some of the film’s removal signals are yellowing, deep scratches, and edges that start to lift or curl. The time of removal is of paramount importance because it will help keep the paint underneath protected from any damage and also ensure that the PPF does not start to spoil the overall appearance of your car.
Related Posts: How Long does PPF Last?
Essential Tools for PPF Removal
| Category | Items |
| Safety Gear | Safety goggles, Nitrile gloves |
| Tools | Heat Gun/Blow Dryer, Microfiber Cloths, Adhesive Remover, Plastic Scraper |
| Additional Supplies | Spray Bottle, Cleaning Solution, Warm Water, Detailing Clay Bar |
Safety Gear and Tools
Security of your person and correct utilization of the right tools are all the necessary things for you when you want to remove paint protection film (PPF). Here are essential safety gear and tools to equip yourself with during the PPF removal process:
Safety Gear:
- Safety goggles or glasses: These are the most important to prevent your eyes from the flying debris and chemicals splashing into your eyes during the removal process.
- Nitrile gloves: To shield your hands from the adhesive remover chemicals and sharp edges of the PPF, you should wear these gloves.
Tools:
- Heat Gun or Blow Dryer: An essential tools for softening the PPF are a heat gun or a strong blow dryer, which is to make the adhesive loosen up. This device is a necessity as it helps you to start the film peeling without too much pressure.
- Microfiber Cloths: These fabrics are provided to clean the surface and to remove any residue during the PPF removal. Microfiber is a very soft and gentle material that can grab all the dirt and residue particles from the paint while being very effective.
- Adhesive Remover: A good adhesive remover must be the basic requirement for the removal of the leftover adhesive when the film is removed. Use a remover which is especially designed for removing the paint of cars so that no damage is caused.
- Plastic Scraper: Apply plastic scraper or squeegee to gently raise the PPF from the car body. It is essential that plastic instead of metal tools are used to avoid scratches or other damages to the surface of the paintwork.
These instruments, if wielded correctly, will not only make PPF removal process smooth but will also increase the safety and efficiency of the process. It is important to be aware of the tools and use them correctly and in accordance with the recommended techniques so that the process can be both safe and effective for this daunting task.
Additional Supplies Needed
Beyond the basic safety gear and tools, several additional supplies will help ensure a thorough and smooth PPF removal process:
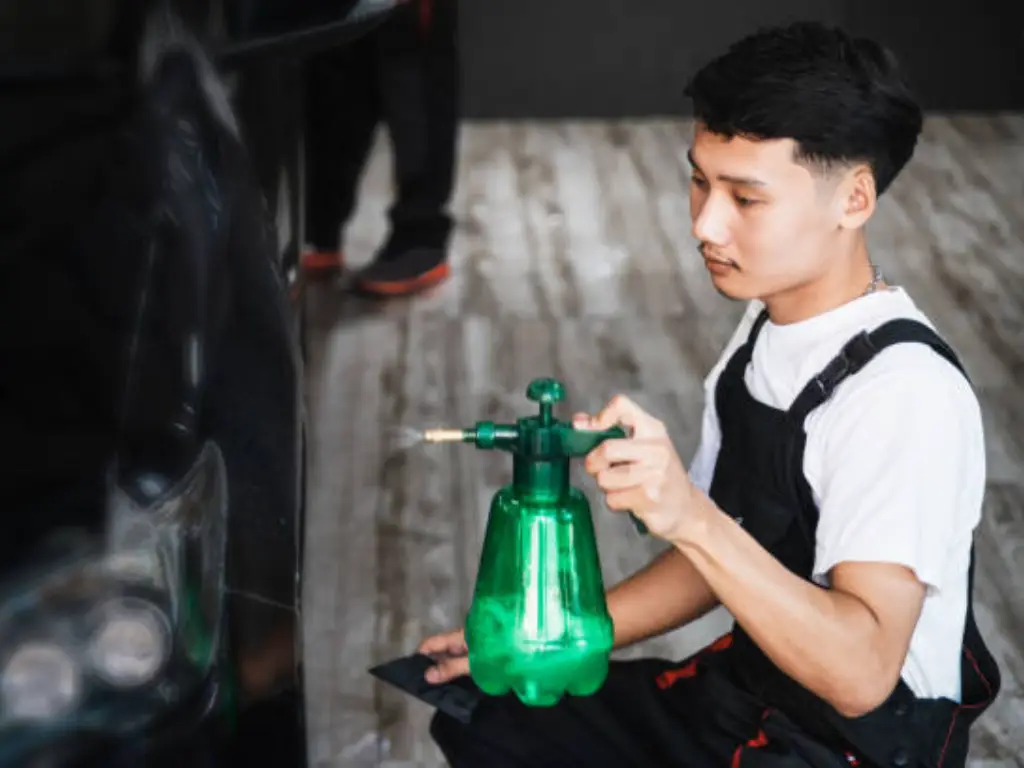
- Spray Bottle: Add a mixture of warm water and a mild cleaner that is safe for automotive use into a spray bottle. This combination is very helpful in pre-soaking the PPF to make the dirt loose, and the adhesive soft, thereby making the film easy to remove.
- Cleaning Solution: Before you embark on the removal process, give the car’s surface a good clean with a mild automotive soap or cleaner. This will take away the oils, waxes and other contaminates that could make the removal process complex.
- Warm Water: Clean and warm water is not only for mixing with the cleaner but also for soaking and rinsing microfiber cloths during and after the removal process. Warm water helps to free contaminants and can support the softening of the adhesive, particularly when used together with the heat gun.
- Detailing Clay Bar: After taking off the PPF and adhesive, you can use a detailing clay bar over the surface to pick up any microscopic debris or residue that is still attached to the paint. This step provides the assurance that the car’s surface is as clean and smooth as possible.
With these instruments and supplies available, you will have the confidence that you need to remove PPF in a way that is professional level and maintain the integrity and appearance of your car’s paintwork.
Preparing Your Car for PPF Removal
Cleaning the Surface Area
Thoroughly wash the PPF area with automotive soap and water. All the surface pollutants including dust, dirt and wax removal is a key step before heating and peeling the film. This is because the debris will not scratch the paint while removing it and you will work on a clean and clear surface of the film.
Assessing the Condition of PPF
Assess the general state of the PPF, looking out for any signs of severe degradation like extreme peeling, deep scratches, or color fading. This evaluation lets us to plan the process of removing the paint by marking places where special attention is required or where the film is more difficult and needs more heat and solvent to be removed.
Step-by-Step Guide to Removing PPF
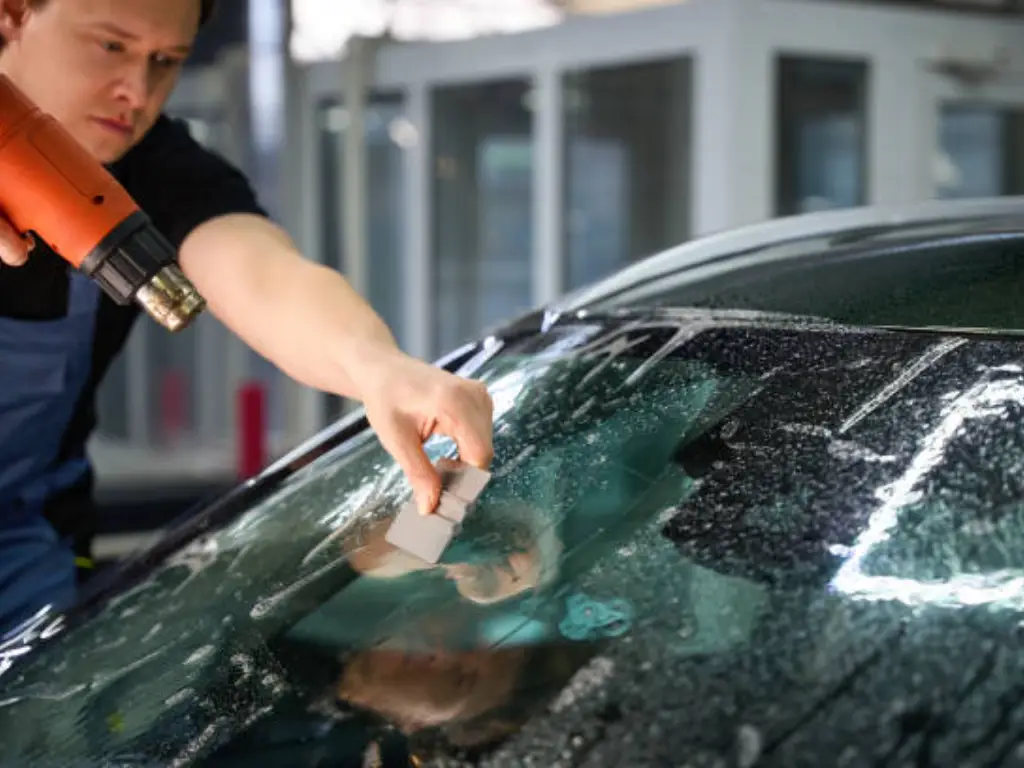
Step 1: Heat Application
Begin the process by applying gentle, consistent heat to the edge of the PPF using a heat gun set to a moderate temperature. This temperature range is typically sufficient to soften the adhesive without risking damage to the underlying paint. Move the heat gun in a slow, sweeping motion to evenly warm the area. This gradual heating helps the film become more pliable and reduces the risk of the PPF tearing during removal. Be cautious to avoid concentrating heat in one spot for too long as this can lead to paint blistering or discoloration.
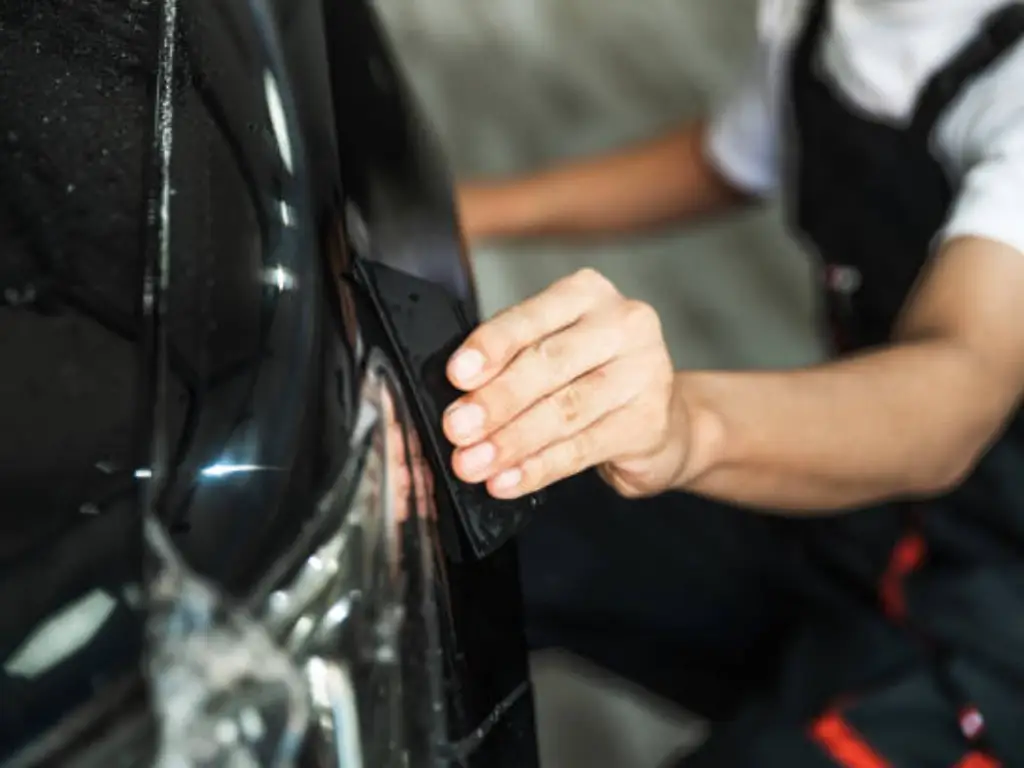
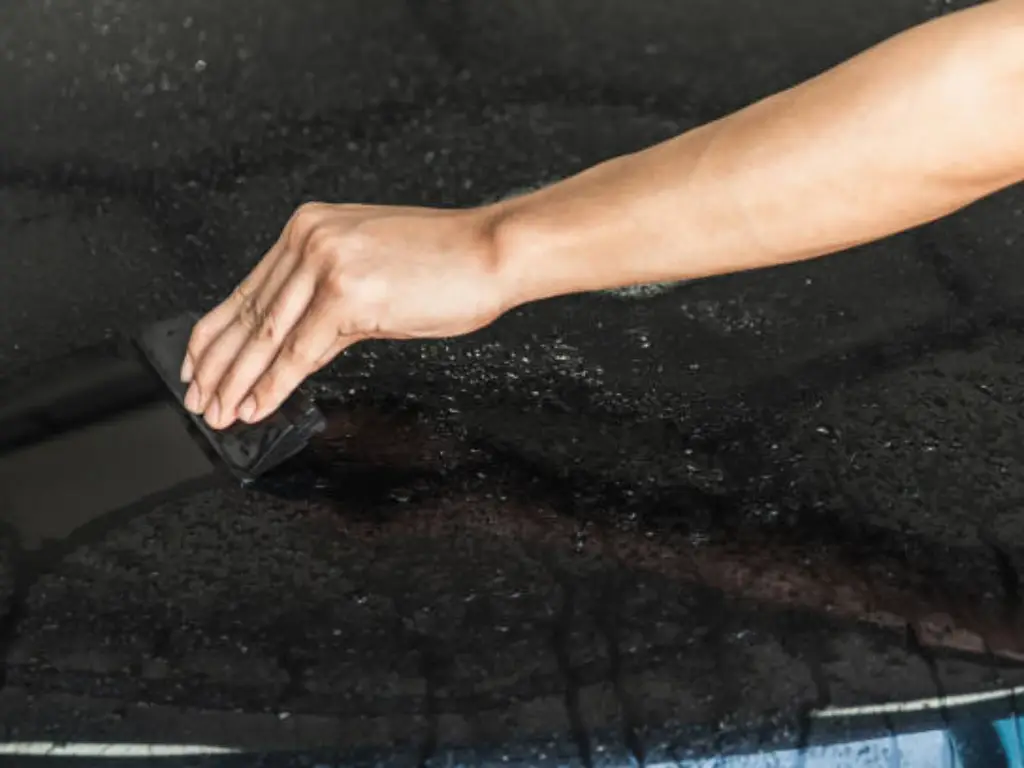
Step 2: Peeling the Film
Once the edge of the film is sufficiently heated, begin peeling it off by gently pulling at a low angle, ideally around 45 degrees. This angle helps in reducing the tension exerted on the paint surface, minimizing the risk of paint lifting or peeling. If the film proves difficult to remove, reapply heat to further loosen the adhesive. It’s important to proceed slowly and carefully; rush less and ensure steady progress to avoid damaging the paint. Using a plastic scraper can help lift the initial edge, but always ensure it’s used flat against the surface to avoid gouging the paint.
Step 3: Addressing Adhesive Residues
After the film has been completely removed, there may be some adhesive residue left on the paint. This is best tackled by using a microfiber cloth lightly dampened with an automotive adhesive remover. Gently rub the affected areas in a circular motion to lift and dissolve the residue. For tougher adhesive spots, you may need to apply the adhesive remover directly to the area and let it sit for a few minutes to soften the glue. Once the residue is fully removed, use another clean, damp microfiber cloth to wipe down the area to remove any remaining cleaning solution. Finally, give the surface a final wipe with a dry microfiber cloth to ensure it is completely clean and dry.
Aftercare Following PPF Removal
Following the removal of PPF, the paint underneath it requires special attention to avoid deterioration and to keep the paint looking good. Start by giving a good wash with a high-grade automotive shampoo so as to get rid of any traces of adhesive remover and other residues. This guarantees that all of the chemicals which are potentially hazardous are washed away and the surface is left clean.
After you have cleaned the car, apply a good automotive wax or sealant to the paint. This step is not only to enhance the brightness of your car but also provide a protective layer that prevents the environmental pollutants, UV rays, and minor abrasions. A waxing or sealant application is done once a week or so to continue protecting the paint and preserve its shine.
Professional detailing services are recommended at least once a year for best results. This allows the paint to remain in the best condition and also indicates the areas that will need attention, thus ensuring that your car is always in top condition and ready for a new PPF application if you choose to reapply.
Avoiding Common Mistakes in PPF Removal
What Not to Do When Removing PPF
Several common errors can compromise the integrity of your vehicle’s paint during PPF removal:
- Excessive Heat: In case of excessive heating, paint can be blistered or even peeled off. A heat gun should always be used with a controlled setting, and it is important to keep moving the heat so that it is evenly distributed.
- Sharp Metal Scrapers: They can be responsible for the scratches or gouges in the paint. It is recommended to use plastic tools which are less likely to damage your vehicle.
- Aggressive Pulling: The film is stripped off by the forceful removal and the paint is lifted. Gradually lift the film up in a straight line and the same speed.
- Overuse of Adhesive Removers: They can leave a stain on the paint if they stay there for too long. Use them sparingly and after that be sure to wash up well.
How to Prevent Damage During Removal
Ensure a smooth and safe removal process by following these guidelines:
- Gentle Techniques: Take care of PPF and paint underneath as well. Gentle and smooth motions are the core aspects that prevent the painting from being damaged physically.
- Clean Working Environment: Maintain a clean and well-lit environment in order to spot and fix problems as soon as they appear.
- Regular Inspection: As you remove the PPF, you should constantly inspect the condition of the paint. This can help to detect any issues at the first stage, before they can evolve into more serious ones.
- Professional Consultation: If you have any doubts about any part of the process, then consulting with a professional auto detailer will save you from unnecessary stress and will ensure that your paint is always in its best condition.
Final Words
Taking off PPF is a careful job that needs you to pay close attention, use the right tools, and think about what you are doing. If you follow the steps in this guide, you can make sure that your car’s paint is safe while you remove the PPF and looks perfect afterwards. Whether you put new PPF back on or just enjoy your car’s paint as it is, it’s very important to remove the old PPF the right way. This helps keep your car looking good and its value high. Removing the PPF with caution and looking after your car afterwards can make your paint last longer and keep your car looking great.
If you need more help or advice about taking off PPF, putting it on, or looking after it, you might want to talk to PPF experts like ClearPro. ClearPro knows a lot about PPF and can give you good tips and help for any questions you have about PPF. Their knowledge means you get trusted advice and solutions that fit your car’s needs, which helps your car’s paint look good for a longer time.