Introduction: What is a PPF?
Protective film for paint, which is called Paint Protection Film, is a must-have solution to preserve the exterior parts of vehicles against debris on the road, minor scruffs and UV-rays. This substance adheres to vehicle paints and it is an elastomeric polymer film that maintains its smoothness as well as guards against climatic harsh conditions. There are various categories of PPF provided in response to desired levels of protection and aesthetic. It does not only act as a barrier to paint damages but also increases the car’s tough nature. Right installation is vital in ensuring maximum outcome such that your motor vehicle stays out of risks caused by daily usage plus some hazardous environmental factors like bird droppings or sap from trees.
Benefits of Installing PPF on Your Vehicle
To improve your vehicle’s appearance and provide significant functional benefits, you should use Paint Protection Film . One of the major merits of PPF is that it can preserve the paintwork of the car. For example, a research indicated that vehicles coated with PPF experienced 40% less scratches and chips as compared to vehicles without such protection from road hazards.
The PPF becomes a protective barrier that protects paint against harmful contaminants like road grime, tree sap and bird droppings, which could cause severe damage over time. For instance, tree saps remove the glossy finish and discolors the surface if not promptly cleaned thereby etching into the paint. Additionally, bird droppings can permanently damage paint surfaces in just two days if left uncleansed. They contain acids necessary for permanent etching on them. PPF protects against these damages, thus retaining aesthetic appeal hence maintaining its resale value.
Besides, light scratches from road debris or cleaning processes are absorbed by PPF acting as a sacrificial layer which protect against minor scratches and swirl marks. For example when gravel is often used in roads many cars have fewer damages than other cars with no cover in case of an accident due to being treated with this compound. Such protection is important for people living in places that have harsh environments such as high UV exposure or frequent application of road salt since it speeds up deterioration through aging.
The table below provides a clear comparison between vehicles with and without paint protection film, highlighting the differences in damage and maintenance over time. It can be used as a reference for readers considering the installation of PPF on their vehicles:
| Damage Type | With PPF | Without PPF |
| Scratches & Chips | 40% fewer occurrences | More frequent and severe |
| Paint Discoloration | Minimal due to protection | Common from tree sap and UV rays |
| Gloss Retention | Higher gloss maintained longer | Rapid loss of gloss |
| Chemical Damage | Reduced damage from bird droppings and road salt | Significant etching and staining from acids and salts |
| Resale Value | Higher due to maintained exterior | Lower due to aesthetic wear |
Tools and Materials
Here’s a list of the tools and materials mentioned for PPF installation:
- High-quality heat gun
- Microfiber cloths
- Squeegees
- Isopropyl alcohol
- Water solution
- Tack solution
- Clay bar
- Installation gel
- Slip solution
Tools and materials are important for a successful installation of paint protection film. The following list is comprehensive and will help you to decide on what is necessary for a seamless application process. To start with, shaping the PPF around your vehicle’s contours and fitting it well necessitates a good quality heat gun. A further requirement entails utilizing microfiber cloths in addition to squeegees apart from that they help remove the air bubble or folds.
To make sure that nothing interferes between the adhesive and the vehicle during its cleaning, dust, grease particles, oily substances and any other foreign matter needs to be eliminated by using an isopropyl alcohol solution or dilute water. As well as this fine dirt removal, there’s also a need for a tack solution to enhance film adhesion. Installation gel or slip solution helps in allowing some movement of the film when being positioned precisely onto the car.
Having prepared those tools and materials above, next one has to focus on preparing his/her car surface before applying the film. Following our discussion on tips preceding installation such as surface preparation among others before applying films on windows in order that they stick properly so they can last longer. Professional level results are derived from this kind of preparedness which maximizes PPF’s protective benefits.
Tips for Before PPF Installation
Preparing the car’s surface for Paint Protection Film before applying it is essential to have a perfect finish and long-lasting protection. Here is a detailed step-by-step guide on how to prepare your vehicle for PPF installation:
Step 1: Wash the Vehicle
To start with, undertake an extensive wash on the entire vehicle in order to remove all surface dirt, road grime and contaminants. Use quality car wash soap and microfiber cloth so as not to scratch the paint. The need to clean each and every part of it, especially where the PPF will touch, cannot be overemphasized.
Step 2: Dry the Vehicle
After washing, dry every bit of moisture completely on the vehicle using clean microfiber towels without causing water spots or leaving any moisture within seams and edges which would overlap by film.
Step 3: Clay Bar Treatment
The next step involves running a clay bar over all areas of the car. This stage is important in eradicating any fine particles and residues that could not be removed through washing. Pass the clay bar gently across the paint having sprayed some clay lubricant or water solution so that it can glide smoothly without scratching your paint.
Step 4: Apply Isopropyl Alcohol Solution
Mix isopropyl alcohol with water in a spray bottle, then apply this mixture onto your paint surface. You should make sure that there are no remaining waxes, oils or greases left so that PPF attaches well without interference.
Step 5: Paint Correction
It has to appear smooth when touched and look flawless visually. Thus, check for visible damage on its paint prior proceeding with application of PPF since air bubbles or water pockets may arise as a result of imperfections leading to failures during installment.If necessary,use polish and DA polisher,to restore smoothness/depth/clarity after painting has been polished before installing PPF.
You accomplish this by following these stages: preparing paint for PPF installation as explained below. This initial step guarantees even adhesion of film throughout its covering, ensuring maximum efficacy and longevity hence preventing peeling at a later time . Now let us proceed with steps on how to go about putting PPF.
Step-By-Step Guide to PPF Installation
The preliminary of your car’s surface is followed by the installation of the Paint Protection Film. Here, in this article, we will take you through a detailed, step by step guide to ensure that the application process is done effectively and flawlessly:
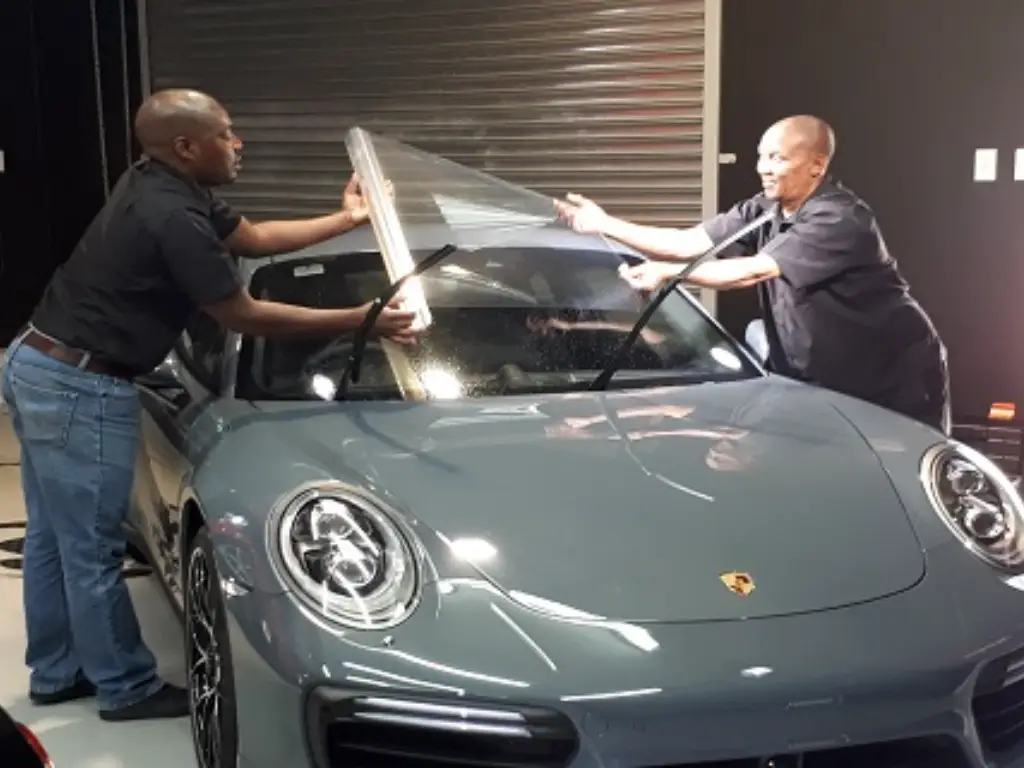
Step 1: Cut and Align the Film
Start by cutting the PPF to fit a particular area on your vehicle that requires coverage. Ensure accuracy and get templates if available which match the contours and edges of your car. Make sure there are no misalignments on film when it is laid properly.
Step 2: Activate the Adhesive
Prepare a slip solution (a mixture of water and a small amount of baby shampoo) and spray it on the adhesive side of the film. This solution eases movement and positioning of film on vehicle surfaces so that finer adjustment can be done without immediate adhesion.
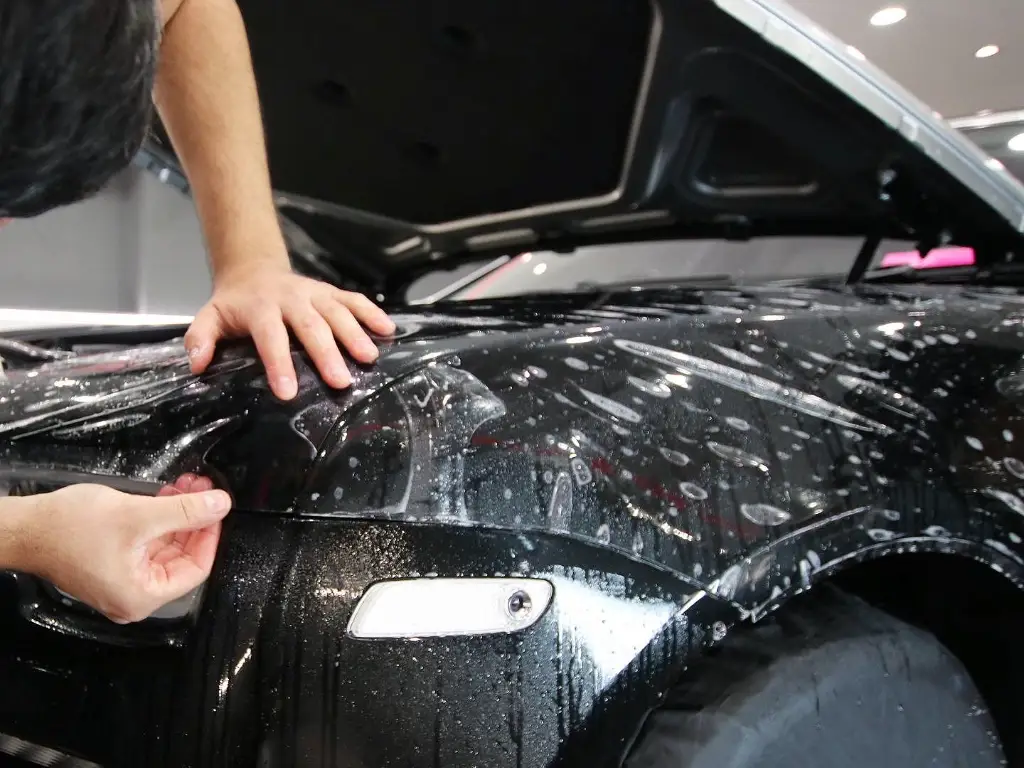
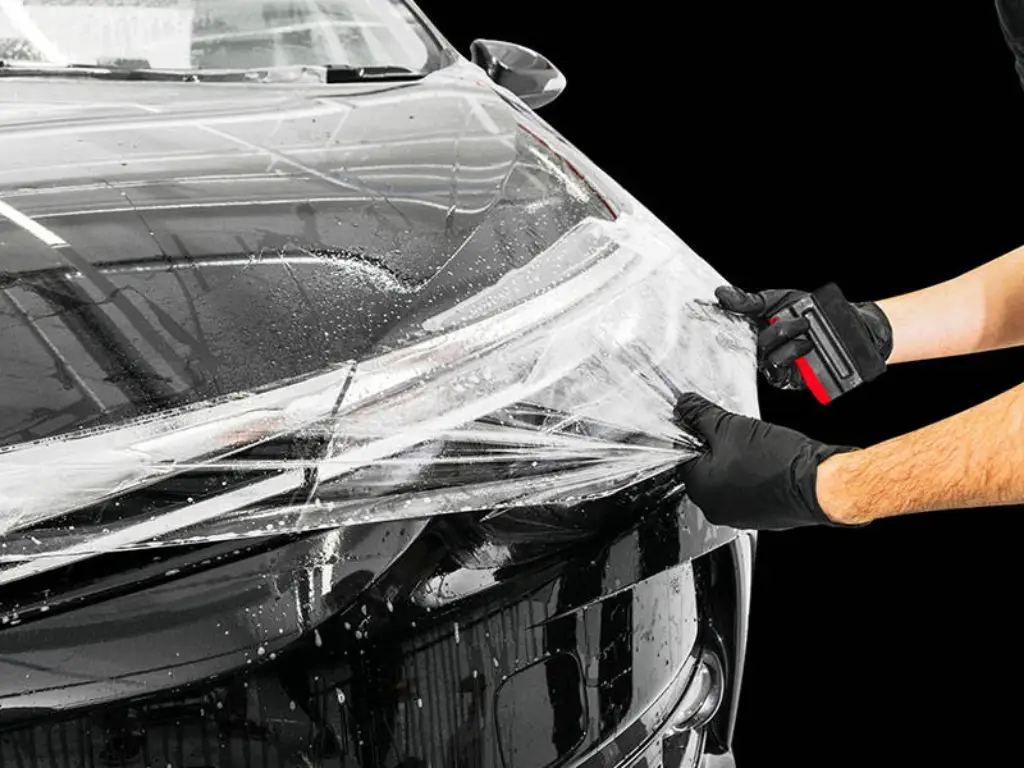
Step 3: Apply the PPF
Place adhesive side onto the painted bodywork. Start from one end to another gently using squeegee to smooth out overlying material and correct any wave or ripple tendency. There should be no air bubbles or wrinkles which can mar finish at this stage.
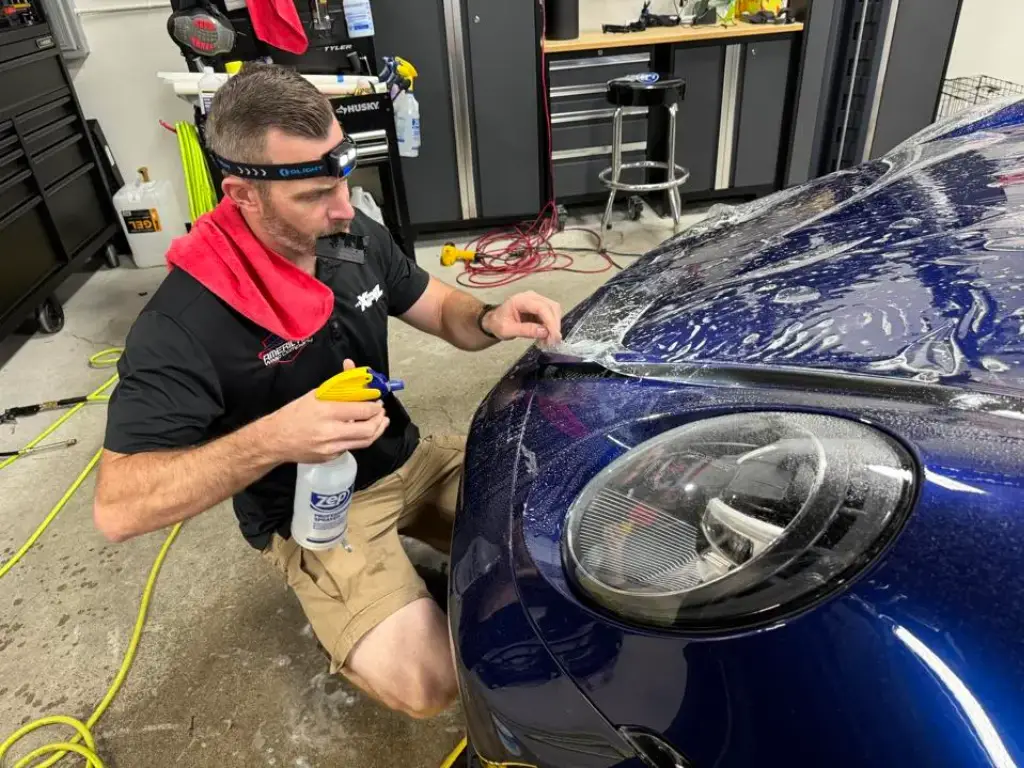
Step 4: Squeegee Out the Solution
Use firm, overlapping strokes with a squeegee to push out the slip solution as well as air trapped under it. Begin from center going towards external sides. This makes sure that it doesn’t have pockets where air or moisture could be trapped hence securing it firmly against car paintwork.
Step 5: Heat and Dry the Film
Take a heat gun and run it across your wetted film very slowly so that its adhesive properties become active. This will also enable its flexibility according to different parts of vehicles’ body shapes. The film should be completely dry before confirming its attachment especially around edges including seams for good reasons like they lift easily.
Step 6: Inspect and Trim Excess Film
Finally, look for blemishes or unsealed areas in films cut out by yourself, not leaving any excess just perfectly fitting what remains for having the best results possible hereafter. Check whether all corners were sealed tight enough preventing them from peeling off later either because they came loose initially during the installation process due mainly improper bonding procedures used.
Now that you have installed your PPF, it’s important to know how you can maintain it so that it lasts long and performs its function effectively. This is necessary after installation to safeguard your investment and keep the appearance of your car in top shape. But first things first: Aftercare guidelines for successful PPF Installation.
Aftercare of PPF Installation
The film should always be allowed to cure completely after installation. This period usually lasts for a week, during which the vehicle should not be washed in order to ensure the best possible adhesion. Proper after-care is critical in ensuring a long life and maximum performance of Paint Protection Film on your vehicle.
Regular Cleaning: In order to maintain the PPF, it is advisable that it ought to be cleaned regularly. You may wash the surface using a gentle automotive-specific soap combined with a soft, clean microfiber cloth. Do not use cleaners containing harsh chemicals or abrasive tools that can cause scratches or harm to the film.
Avoid Direct Sunlight: It is better if possible you can park under shade trees or covered areas. Reducing exposure duration will help protect the integrity and appearance of the film since prolonged direct sunlight damages the film through UV rays.
Immediate Removal of Contaminants: Quickly wipe off contaminants like bird droppings, tree sap and road tar because they can leave permanent stains or etchings on the film. Use an automotive cleaner designed for such tasks with a micro-fiber cloth only for safe effective removal.
Periodic Professional Inspections: Plan periodic inspections with professional installers who may detect any issues including lifting edges and scratches as well as offer necessary repairs and replace sections of the film so it remains efficient at protecting your automobile.
By following these maintenance tips, you can keep your PPF in good condition, thus preserving paintwork on your car for years.
Conclusion
To keep your car’s exterior in its perfect condition and increase its lifespan and resale value, it is important to have paint protection film installed. In this guide we have taken you step by step through the process of applying PPF – from choosing the suitable film to polishing the finish up. Don’t forget that PPF does not only act as a shield. It is rather meant to preserve your vehicle aesthetics or structure from environmental hazards as well as day-to-day attrition that occur on roadways. By using correct instruments, tactics and displaying some patience, one can achieve results at par with those from professionals and thus preserving the look of their cars while improving on ruggedness. This guide provides an easy-to-follow process for applying PPF that will give you confidence for maintaining your car’s appearance for years.
Can you Apply a PPF to your Headlight?
Of course you can! Installing CleanPro paint protective films at areas such as front bumper, front end, fender, side mirrors, door edges, also headlights top window and windshield could be very helpful.
In addition to being a security against stone chips or other hard items thrown onto these surfaces by the road flipping tires; it also acts as a barrier against bird droppings splatter, bug juice tree sap and other natural contaminants.